Break any video into shots for free: a simple rea-video guide
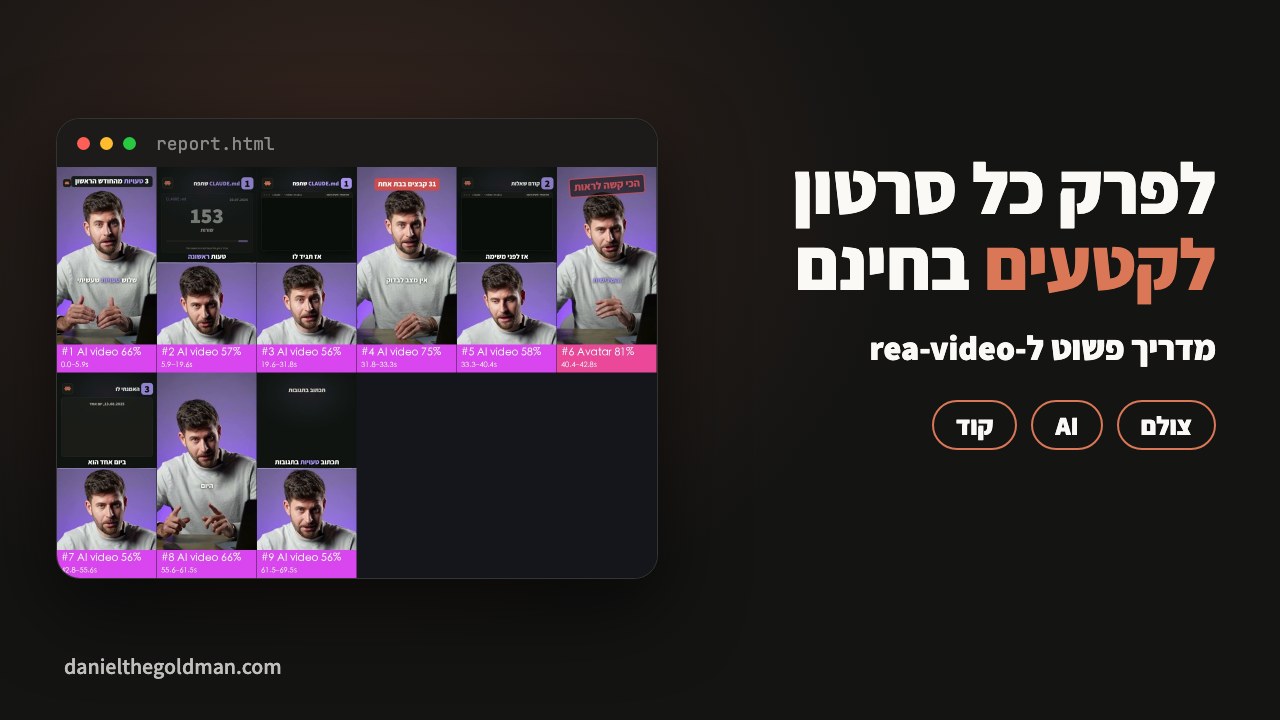
rea-video splits a video into shots, tags each one as filmed, AI or code, separates the sound and writes a plan for your own version. Install it with Claude Code, no key, no cost.
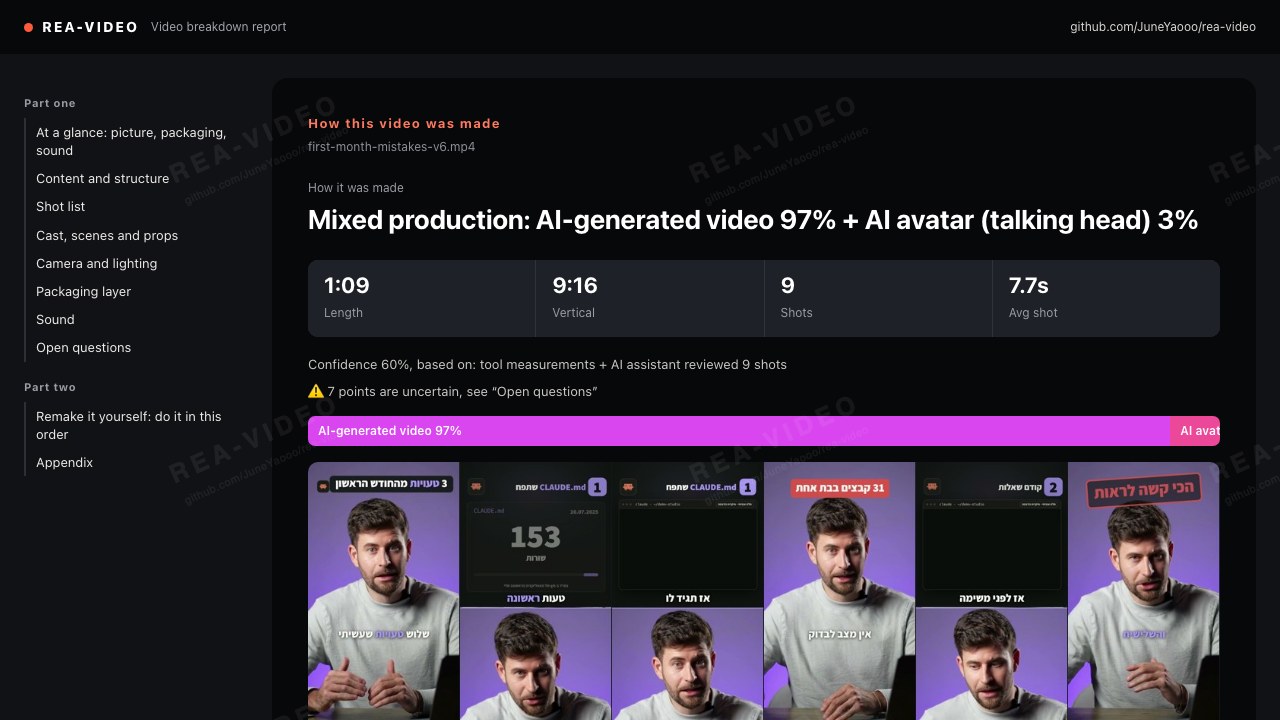
You give it a video, and you get a report: how many shots there are, how each one was made, where the effects come in, and what lighting to use.
You have a Mac or a computer with Claude Code, and there is a video you want to understand how it was made. If you do not have Claude Code yet, start with the starter guide.
What you get
- A list of shots with timestamps, and for each shot: filmed, AI, or code.
- The sound split into three files: voice, music and effects, with the times of the effects.
- How it was filmed: frame size, a fixed or moving camera, and what lighting to use to get the same look.
- A plan for your own version: what to generate, what to record and how to edit, in order.
- All of it in one report that opens in your browser.
What you need
- A Mac (I tested on a Mac) with Claude Code installed.
- It is free: no key and no account.
- On the first run it downloads about 400 MB of files it needs. Only once.
Contents
Install it, step by step
Install only the rea-video command line tool from https://github.com/JuneYaooo/rea-video into its own Python virtual environment, so nothing else on my computer changes. Do not run scripts/install_skill.sh and do not install its agent skill. Install ffmpeg if it is missing. Then run `rea-video decompose <my video file> --no-vlm --lang en`, show me the summary, and open report.html.Why without its skill: the skill files tell the agent to run an install script from the internet and to update other skills on your computer. The tool itself does the whole breakdown without them.
Better tags: Claude looks at the frames
Without a paid video model, the tags are a guess based on the pixels. Ask Claude Code:
Run `rea-video review` on the output folder, look at every shot's frames yourself, fill review_answers.json, then run `rea-video apply-review <folder> --by claude` and show me what changed.What it cannot do
- Hebrew captions and speech: it does not read Hebrew (in captions, only Chinese, Japanese and Korean).
- Quiet background music: in my Reel it missed it.
- Effects: it found 13 of the 36 in my Reel.
- A full prompt for each shot and an automatic remake: these need a paid model and another tool. This guide does not go there.
If something does not work
ffmpeg not found: ask Claude Code to install ffmpeg.- An error while installing onnxruntime: ask it to use Python 3.12.
- The first run is slow: it is downloading its files. The second time it is fast.
Other people's videos
Learn their structure, pacing and lighting from them, and film your own material. Do not use someone else's footage, music or face.
github.com/JuneYaooo/rea-video (Apache-2.0). My run: November 21, 2026, a 69-second Reel of mine, a 67-second run on a MacBook Pro.