Cut every pause out of your video for free: a simple auto-editor guide
auto-editor is free, open-source software that finds the moments in a video where nobody speaks and cuts them out. The install on Mac and Windows, the command I ran, and what to change if it cuts too much.
What auto-editor is
auto-editor listens to your video and looks for the quiet moments. Anything below 4% loudness counts as silence and gets cut. Next to every stretch of speech it keeps 0.2 seconds of breathing room, so sentences don't get clipped.
- Free. Open source under the Unlicense. No subscription and no limit on how many videos.
- Instead of Descript, for the cutting part. On Descript's free plan this silence cut is limited, and the Hobbyist plan costs $24 a month on monthly billing.
- It runs in the Terminal. The Terminal is the window where you type commands to your computer. No buttons: you type one line and it does the rest.
My run
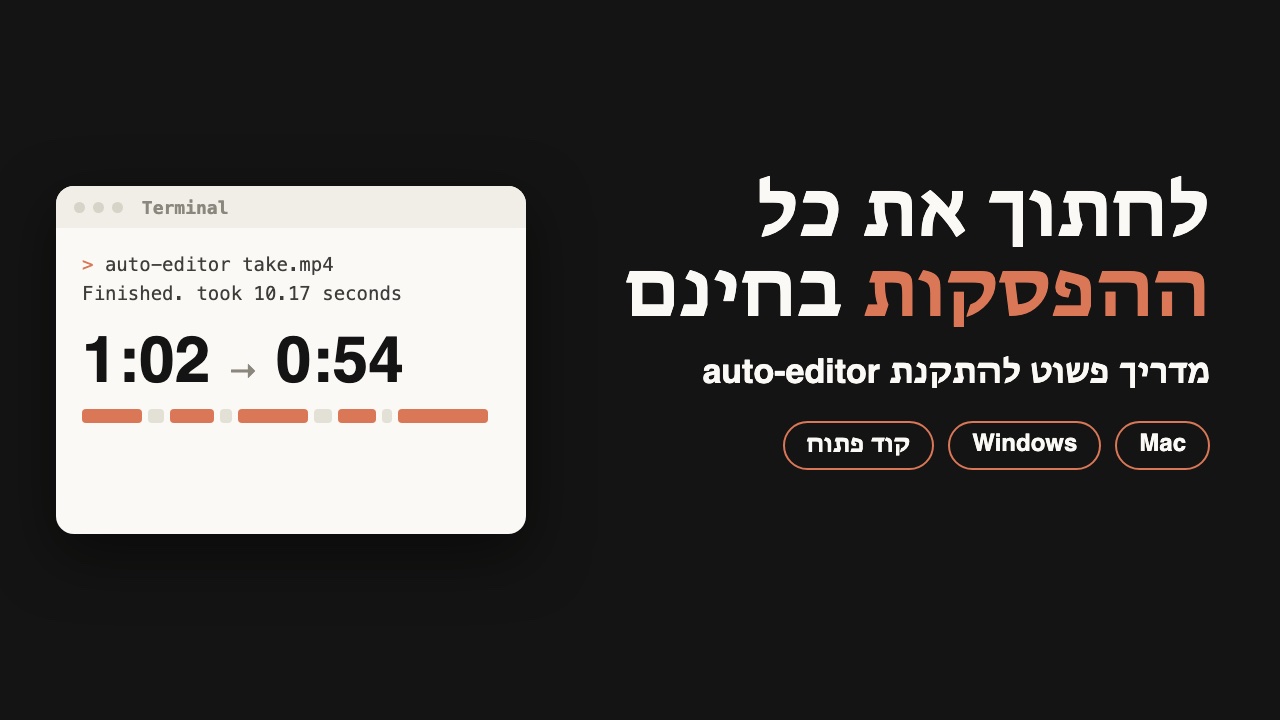
I took a raw take of mine, one minute and two seconds long, and ran the command without changing any setting:
auto-editor take.mp4It found nine pauses and cut all of them. The video went from 1:02 to 0:54, and it took about 10 seconds on a MacBook Pro M5 Max.
On a 73-minute recording of mine it cut six minutes of silence: from 73:10 to 67:00.
Worth knowing: on takes I had already trimmed by hand it cut only 1% to 5%. It saves the most on raw footage.
Contents
Install on Mac
Never opened a Terminal? That's fine: copy, paste, press Enter.
You need a Mac with an Apple chip. Not sure what you have? Click the Apple menu in the corner, then About This Mac. If it says Intel, there is no ready-made build on GitHub, and I did not test it.
Cmd+Space, type Terminal, and press Enter.Next steps heading with a few lines: copy them and run them.brew install auto-editorCheck it worked with auto-editor --version. If it prints a version number, the install succeeded. Mine was 31.9.0.
Install on Windows
I did not test this part myself. It follows the official install instructions at auto-editor.com.
auto-editor-windows-x86_64.exe. That is the file for most computers. If your computer has an ARM processor, take auto-editor-windows-aarch64.exe instead.auto-editor.exe. In your Downloads folder, right-click the file and choose Rename. If the name does not show .exe, name it just auto-editor.Start, type PowerShell, and press Enter. Move into your Downloads folder:cd Downloads.\auto-editor --versionThe file is not signed, so Windows may warn that the developer is unknown. The official site says this is expected and you can go ahead.
Important on Windows: In every command in this guide, write .\auto-editor instead of auto-editor, and run it from your Downloads folder.
Your first cut
auto-editor. On Windows: .\auto-editor. Don't press Enter yet.Finished. and how long it took.Your original file stays exactly as it was. The cut version is saved next to it, in the same folder, with _ALTERED at the end of the name. take.mp4 becomes take_ALTERED.mp4. It does not open by itself: open it from the folder.
Cutting too much, or too little?
Every setting here goes in the same way: type auto-editor and a space, drag your video into the window, add a space, paste the setting after its name, and press Enter. This is what it looks like, where take.mp4 is your video:
auto-editor take.mp4 --margin 0.4secWant to see how much it will cut, without making a file? Add this. It only prints the length before and after:
--statsLosing the ends of words? Give the speech more breathing room, from 0.2 to 0.4 seconds:
--margin 0.4secPauses left in? Raise the bar for what counts as quiet. Slightly louder sounds, like background noise or breathing, will then count as silence and get cut:
--edit audio:-19dBOne catch: if you speak softly, this bar can cut speech too. Then run it again without the setting to go back to the default.
Change one thing at a time and run it again. Every run overwrites the same _ALTERED file, so move a version you like to another folder before you run again.
Open the cuts in your editor
Don't want a final file? You can get a project where every stretch of speech is its own clip on the timeline. That way you can drag a clip's edge and bring back a pause it cut.
Same routine: auto-editor, a space, drag in your video, another space, and paste your editor's setting after its name.
For Premiere Pro, this writes take_ALTERED.xml:
--export premiereFor Final Cut Pro, this writes take_ALTERED.fcpxml:
--export final-cut-proFor DaVinci Resolve, this also writes take_ALTERED.fcpxml:
--export resolveThe project points at your original video, so don't move or rename it before you open the project. I checked that these files get created, but I did not open them in the editors themselves.
If something does not work
command not found: brew. You skipped the Next steps lines from Homebrew. Run them, then close the Terminal and open it again.is not recognized. Either you are not in your Downloads folder, or the .\ at the start is missing. Run cd Downloads and try again.Input file doesn't exist. You typed a file name it can't find, or copied take.mp4 from the example. Instead of typing, drag your own video into the window.--margin 0.4sec after the video's name.--edit audio:-19dB after the video's name._ALTERED at the end of the name.github.com/WyattBlue/auto-editor (Unlicense), auto-editor.com/installing, descript.com/pricing (Hobbyist at $24 a month on monthly billing, silence cutting limited on the free plan), all read on November 21, 2026. My runs: auto-editor 31.9.0 on default settings, the same day.